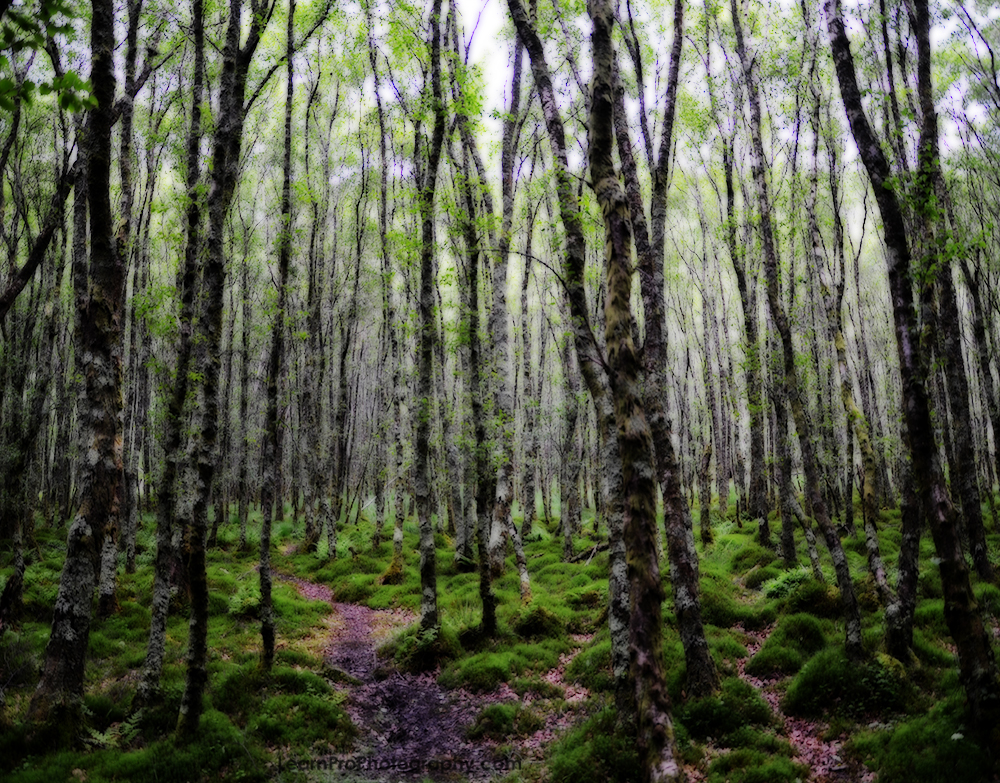
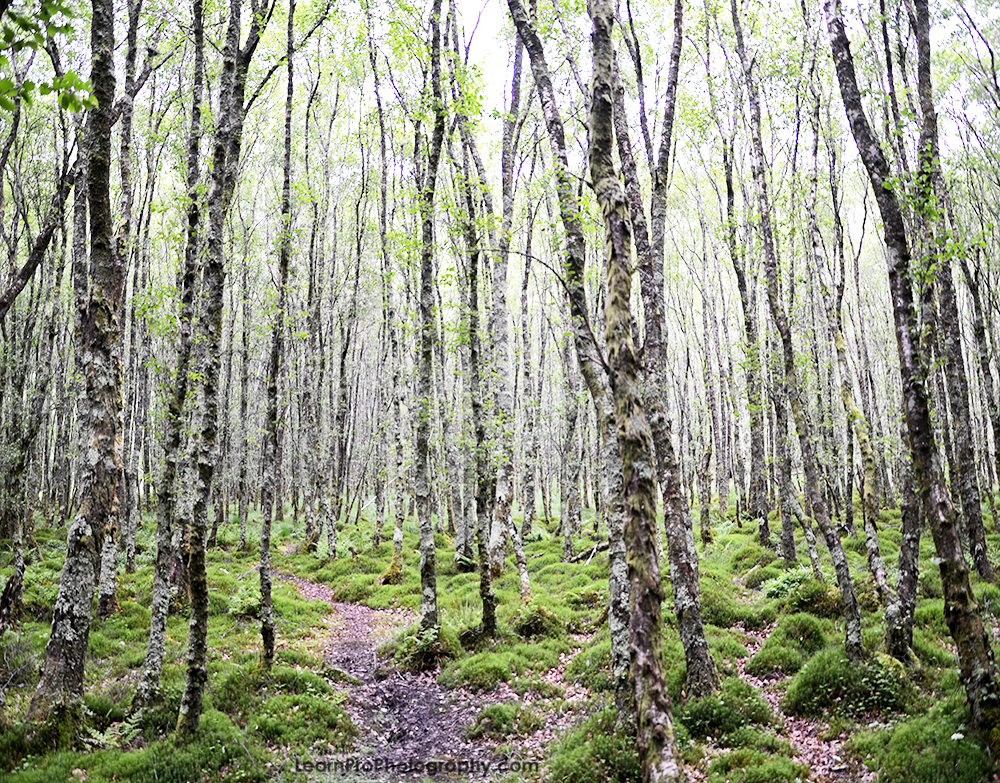
The Orton Effect, originally done in the darkroom, is a technique that involves overlaying a few differently exposed versions of identical scenes to create a dreamy or surreal-looking photograph. Orton photography, which was named for its creator, photographer Michael Orton, can now be achieved with digital image editing software and one original image.
I’ll be using Photoshop for this Orton Effect tutorial.
1. Open your image in Photoshop.
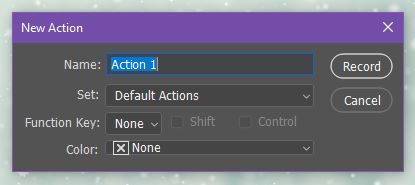
2. Make three copies of the background layer. Name the first background copy “In focus”, the second background copy “Screen”, and the third background copy “Out of focus”.
3. Select the “Screen” layer in the layers panel and change the blending mode to Screen.
4. Adjust the opacity of this layer to your liking (optional).
5. Right-click on the Screen layer and Merge Down.
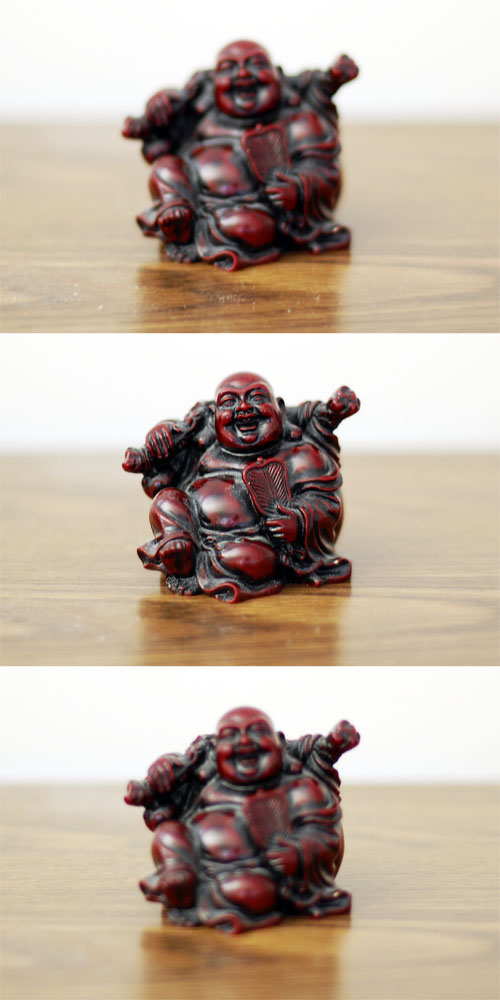
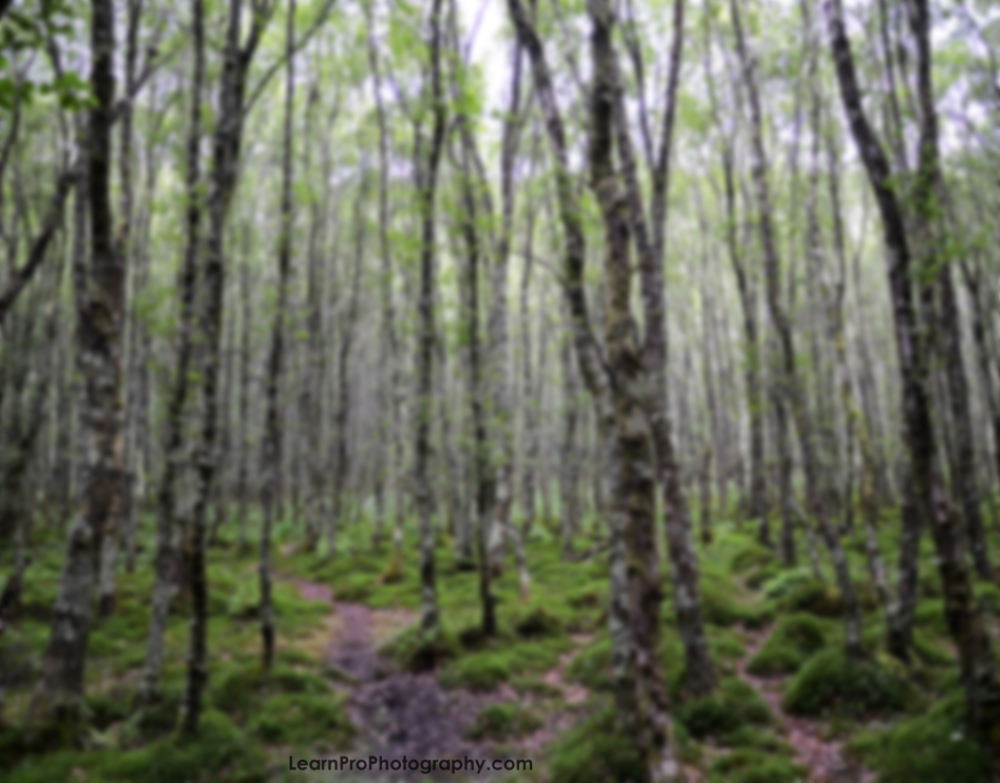
6. Select the “Out of focus” layer and apply a Gaussian Blur by clicking Filter in the menu and navigating to Blur and then Gaussian Blur.
7. Blur the layer enough so that the detail is gone but you can still make out the shapes in the photo.
8. Change the blending mode of the Out of focus layer to Multiply.
9. Adjust the opacity of this layer to your liking (optional).
10. Right-click and Merge Down.
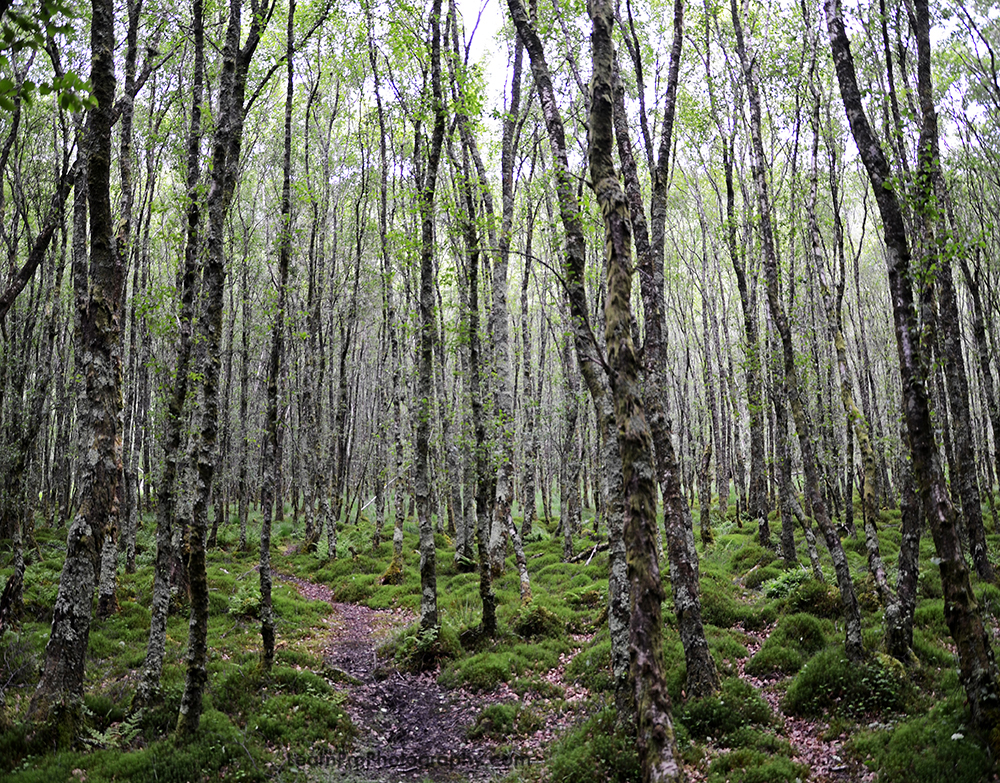
Now you have two layers, one that the Orton Effect is applied to and the original image. Click the eye icon to the left of the Orton Effect layer to see the difference between the before and after.