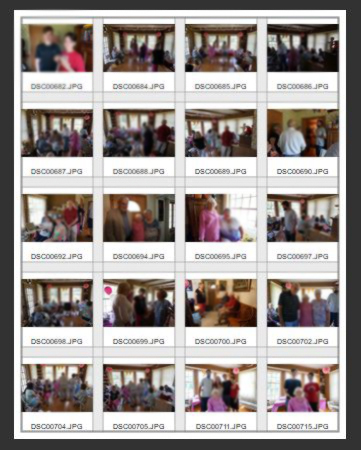
Contact sheets used to be known as a sheet of paper on which negatives from a roll of film have been contact printed. With digital photography, contact sheets are still used as a way to see and compare a number of images at a time.
There are a number of methods for creating a contact sheet digitally, but here I will show you how to create a contact sheet in Adobe Bridge.
First, open Bridge and browse to the folder that contains the photos that you want on the contact sheet.
Select Output.
Select all the images that you want on the contact sheet. You can use your mouse to select them all, control+A, or control+click each image you want to use.
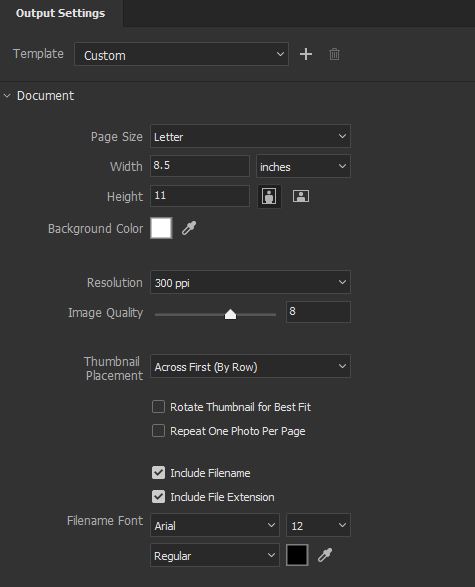
Next, choose the kind of paper. If you are printing, it is probably best to use the most common and easily-printed paper type: U.S. Paper (Letter).

There are some other options in the document section like the ability to choose the quality of the images.
You can also select the number of images on one sheet and the margins between and around each image.
In many cases, it’s a good idea to include the file names on the contact sheet so that you can identify each image.
Include a header and/or footer if you’d like.
When you are satisfied with your selections, Export to PDF.
That was easy! Contact sheets are a great tool during the editing process.


