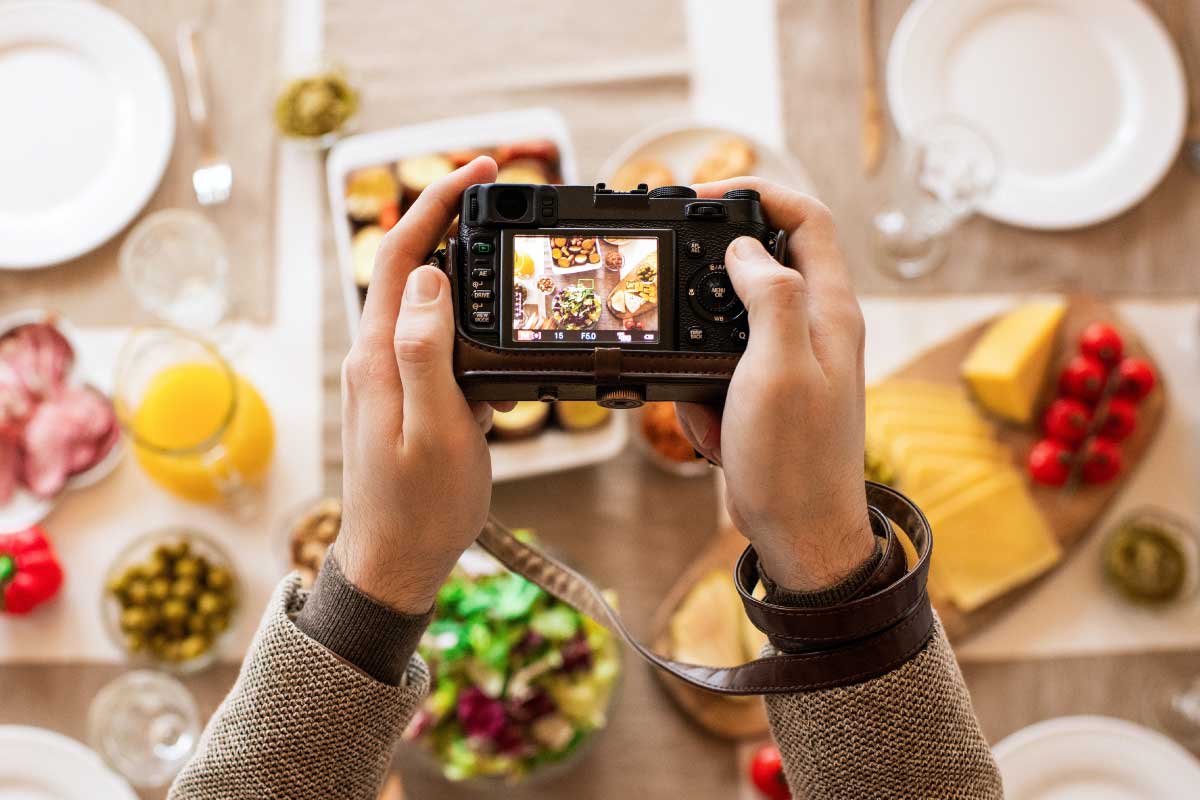
Food—it’s a part of everyday life. Nowadays, many of us find ourselves sharing our food through the art of food photography. Instagram and other social media platforms have turned us into amateur photographers.
Even as an amateur photographer, you want your pictures to be lifelike and to convey your chosen message. Maybe the photography bug has bitten and you are now aspiring to change your hobby into a profession. Either way, you want to take the best possible pictures.
Where do you start? Taking good photos is slightly more difficult than simply pointing your camera and pressing a button. Yes, you’ll get a picture that way, but will you get a good picture? Let’s discuss some ways to improve your food photography skills.
Step 1: Choose the Correct Angle for Food Photography
You already know you’re photographing food. So, now you have to tell the story behind the food. That is done by taking the photo from the correct angle.
Most people take a picture from either directly above the object or at direct eye level. That may not be the best angle for your photograph. You want to choose an angle that accentuates the best parts of your subject. If you capture pizza from the side, for example, it might just look like a Frisbee instead of a delicious pizza dripping with cheese and sauce.
How do you choose the correct angle for food photography? One option is to snap a variety of pictures from different angles and decide which you like best. While this option might get you to the best photo, it can be time-consuming, and it’s something of a hit-or-miss method.
Another option is to use what is called the rule of thirds. In this method, you imagine a grid that is divided into nine spaces. Then you use your imagined grid to place the food you’re shooting in a prime location within the camera lens. Compositions that land on a line of the grid or an intersection of lines often make the best photographs.
Step 2: Strategically Use Props
Now that you have the star of the show and you have chosen the angle you want to use for your food photography, it’s time to showcase your star. How do you make the food shine? Props. That’s right, props.
When you’re setting the stage for your pictures, consider the scenery. You could simply photograph your dish of food, but that could produce a boring picture. Adding elements like napkins or utensils adds interest to your setting. Consider adding condiments or toppings on the edge of the photograph scene.
Be careful not to overload your setting though. You want your food to be the star. After all, that is the point of the picture. Use your props as accent pieces. They are simply to help add interest.
When you choose your props, remember to consider texture. If you have a flat table, a flat plate, and a flat tortilla, your picture will hold less interest. However, if you add a small bowl of guacamole to the side of your flat plate holding your flat tortilla, you have added a new level and more color.
Step 3: Choose the Right Lighting
Lighting can make or break your photo. The wrong lighting can lead to blurry, dark images. In contrast, the right lighting can bring your photo to life. Natural light produces the clearest pictures.
Even in natural lighting, you should be aware of which direction the light is hitting your subject. Light hitting at the wrong angle can leave shadows on your photo. It can also cause glare across the scene you’ve set.
Paying attention to the light sources will help you with the composition of your picture. Indirect lighting, direct lighting, and harsh lighting all affect the way your final picture looks. There is some equipment you can purchase to help with lighting issues you may experience.
Diffusers and deflectors are tools that photographers can use to help control the lighting in their photos. A deflector is used to soften hard edges caused by inappropriate light sources. Diffusers are used with your camera’s flash—they spread the light out to make it more flattering for the star of your show.
Step 4: Pay Attention to the Background
You know about props and lighting; let’s look at backgrounds. Have you ever seen a photo and thought to yourself, “I wonder why they didn’t move that (fill-in-the-blank)?” If not, you either truly don’t notice the background of a picture or you are lucky to have never seen a bad photo.
Solid backgrounds work nicely for almost any photography subject. Don’t be afraid to try something a little out of the box, though. The caveat is to make sure your background doesn’t overpower your photo. If you are shooting something naturally busy—like, spaghetti, for instance—you will likely want to keep your background simpler.
Nature makes a good background for virtually anything. You might consider staging your food photography as a picnic to heighten interest. Or, perhaps, use an outdoor backdrop for a “Burger of the Month” photo. You get the idea.
For those moments when your photo’s background isn’t quite right, Adobe’s free Transparent Background Maker offers a quick and effortless solution. This tool allows you to easily remove the background from any image, creating a clean, transparent backdrop in just a few clicks. Ideal for emphasizing your subject without distractions, it’s especially useful in food photography where the focus is key.
Step 5: Use the Correct Equipment
You’re probably wondering why choosing the right equipment is last on this list. That is by design. If you’re simply shooting pictures of your latest culinary creation to share with friends and family on social media, your smartphone will likely do the trick. From there, you will probably graduate to a simple point-and-shoot style camera.
When you’ve practiced your technique, and you feel like it’s time for more control over light and shutter speed, you’ll want to look for a good digital single lens reflex (DSLR) camera. This will be an investment in your craft and yourself, so choose wisely. Research the brands, and find the one that best fits your photography goals.
Conclusion
The appropriate equipment and setting can make your food photography shine. Use the tips here, and decide if they make a difference in your pictures.